
Top 10 SwiftUI Best Practices Every iOS Developer Should Know
SwiftUI has revolutionized how developers craft apps across Apple platforms. With its declarative syntax, real-time previews and tight integration with Swift, it empowers developers to design interfaces that are not only visually stunning but also incredibly efficient to build and maintain.
Just like competing in the World Series, mastering SwiftUI requires strategy, focus and continuous improvement. True expertise goes beyond understanding syntax it’s about writing clean, scalable and performance-driven code that enhances both developer productivity and user experience.
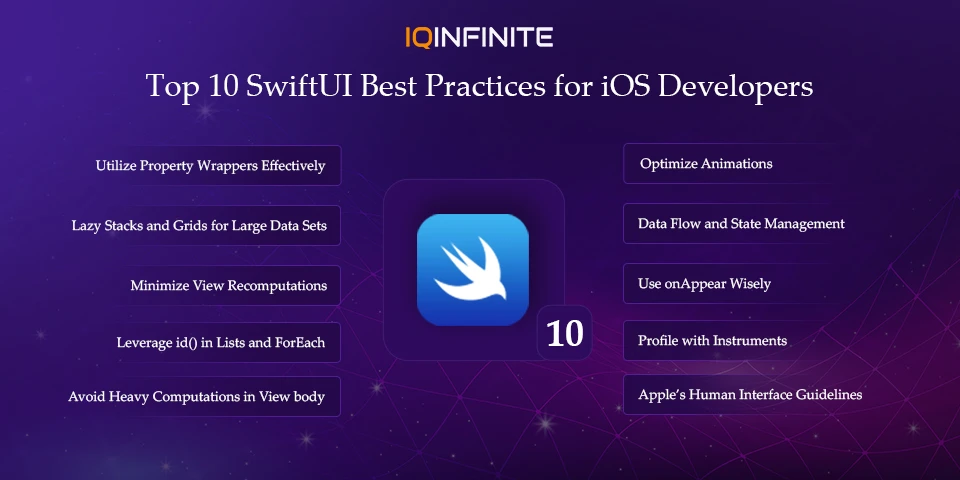
Now, we’ll dive into the top 10 SwiftUI best practices that every iOS developer should follow to create apps that are elegant, efficient and future-ready.
1. Understand and Utilize Property Wrappers Effectively
Property wrappers are the backbone of SwiftUI’s reactive design. They control how your data flows through the app and how the UI responds to changes.
Each wrapper has a specific role:
• @State is used for local data that belongs to a single view.
• @Binding helps share data between parent and child views.
• @ObservedObject and @StateObject manage observable data models.
• @EnvironmentObject allows you to share data globally across multiple views.
Misusing these wrappers can lead to unexpected UI updates or performance issues.
A clear understanding of when to use each one ensures your data stays consistent and your UI remains predictable.
2. Prefer Lazy Stacks and Grids for Large Data Sets
When dealing with lists, feeds or grids containing large amounts of data, SwiftUI offers LazyVStack, LazyHStack and LazyVGrid.
Unlike regular stacks, lazy containers only render items as they appear on the screen significantly improving scrolling performance and memory usage.
For example, in a feed with hundreds of items, using a regular VStack can cause SwiftUI to load every item at once, leading to lag or high memory consumption. Lazy containers prevent that, keeping your app responsive and efficient.
Pro Tip: Always use lazy stacks or grids when building scrollable interfaces with dynamic content.
3. Minimize View Recomputations
SwiftUI’s declarative nature means views are constantly being recomputed when data changes. While this makes UI updates automatic, it can also lead to unnecessary redraws if not handled carefully.
To minimize recomputation:
• Keep state variables small and focused.
• Avoid passing large or changing data unnecessarily.
• Extract static subviews into separate structs.
This ensures that only the parts of your UI that need to update will re-render, improving performance and responsiveness especially on older devices.
4. Leverage id () in Lists and ForEach
SwiftUI uses identifiers (id) to track and differentiate elements in lists or collections. If you don’t assign a proper id, SwiftUI may rebuild or animate views unnecessarily when data changes even when the item’s content remains the same.
Always provide a stable and unique identifier for list items. This allows SwiftUI to intelligently reuse and update only the affected views, enhancing performance and maintaining smooth animations.
Example: Use a model’s unique ID instead of relying on the array index to avoid visual glitches during insertions or deletions.
5. Avoid Heavy Computations in View body
The body property in SwiftUI should remain lightweight and purely declarative. Performing expensive operations here like filtering data, network requests or image processing can degrade performance.
Instead:
• Move heavy logic into ViewModels or background tasks.
• Precompute data before rendering the view.
• Use caching mechanisms for repetitive work.
A clean and fast body ensures SwiftUI can efficiently rebuild your interface when needed, leading to smoother transitions and faster rendering times.
6. Optimize Animations
Animations make apps delightful but unoptimized animations can cause dropped frames and a sluggish experience.
When animating, keep these points in mind:
• Use implicit animations for simple transitions.
• Limit simultaneous complex animations.
• Avoid animating large data sets or deeply nested views.
SwiftUI’s animation system is hardware-accelerated but that doesn’t mean you should animate everything. The key is subtlety and purpose use motion to guide the user, not distract them.
Insight: Apple recommends maintaining 60 frames per second for a fluid animation experience.
7. Handle Data Flow and State Management Clearly
SwiftUI apps thrive on reactive data flow but unclear state management can quickly lead to confusion or unexpected results.
Adopt a structured pattern like MVVM (Model-View-ViewModel) to separate your logic from presentation.
Each view should clearly know:
• Where its data comes from
• How that data changes
• What triggers a UI update
Consistent data flow helps prevent synchronization issues and makes debugging easier, especially as your app grows in complexity.
8. Use onAppear Wisely
The onAppear modifier is a great tool for performing actions when a view appears on screensuch as loading data or triggering analytics.
However, it’s easy to overuse. If a view appears multiple times (for example, in a list or navigation stack), onAppear will trigger each time.
To use it effectively:
• Keep tasks inside onAppear lightweight.
• Use flags to prevent repeated executions.
• For heavier logic, move tasks into lifecycle-aware ViewModels.
This ensures predictable behavior and prevents redundant network calls or processing when navigating through views.
9. Profile with Instruments
Performance optimization isn’t guesswork it’s measurement.
Apple’s Instruments tool is invaluable for profiling your SwiftUI app. It helps identify:
• Slow UI updates
• Memory leaks
• Redundant recomputations
• Animation frame drops
Regularly profiling your app during development ensures you catch performance bottlenecks early. A few minutes spent in Instruments can save hours of debugging later.
Pro Tip: Profile before optimization don’t optimize what you haven’t measured.
10. Follow Apple’s Human Interface Guidelines (HIG)
Finally, great performance means little if the user experience isn’t intuitive.
Apple’s Human Interface Guidelines (HIG) provide a blueprint for designing beautiful, accessible and user-friendly apps.
Following HIG ensures your app feels natural within the Apple ecosystem consistent navigation, proper spacing and adaptive design across iPhone, iPad and macOS.
Apps that adhere to HIG often receive better user ratings and are more likely to be featured on the App Store.
Remember: In SwiftUI, design and development are two sides of the same coin. Build with both performance and experience in mind.
Conclusion
SwiftUI offers incredible tools to build stunning, performant apps but excellence comes from understanding how to use them effectively.
By mastering these 10 best practices, you can write cleaner code, improve performance and create seamless user experiences that stand out in the App Store. Imagine building an interactive companion app for Battlefield 6: Battle Royale one that delivers real-time stats, live match updates and smooth animations all powered by SwiftUI’s elegant and efficient architecture.
Whether you’re a beginner exploring SwiftUI or a seasoned iOS developer modernizing an existing codebase, these principles will help you get the most out of SwiftUI today and as the framework continues to evolve.